Installation
Step 1) Download and install the OctaneRender Standalone Edition. If you already have a Standalone license activated on your computer, you can skip this step.
***Please make sure that the Maya host application is not running in the background while you are installing the plugin.***
Step 2) Download the software from the Latest Additions to OctaneRender article and run the plugin installer (you will need to be admin in order to do this).
Step 3) While installing the program, you will be prompted to choose from a list of components. Please make sure to only install the components you want.
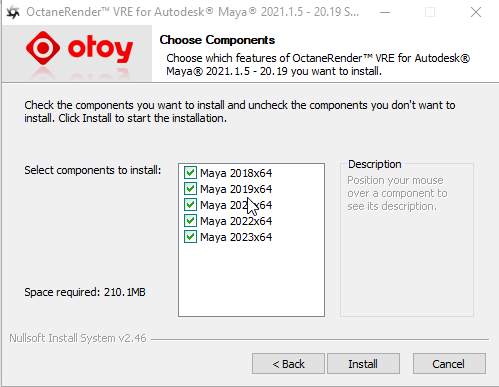
Setting the plugin into Maya
Step 4) Open the Maya application. If you did not activate your Standalone license, you will be prompted to enter your Otoy account credentials.
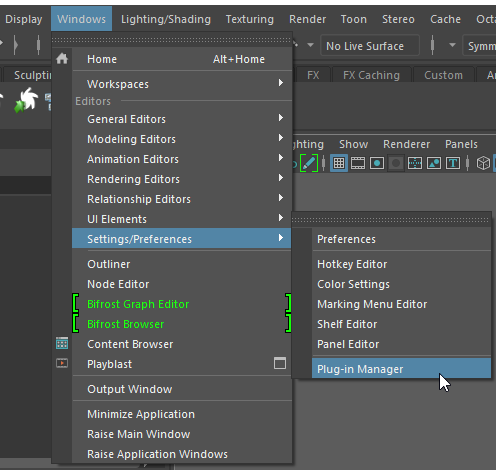
Step 5) Go to the Windows Tab -> Settings/Preferences -> Plugin Manager.
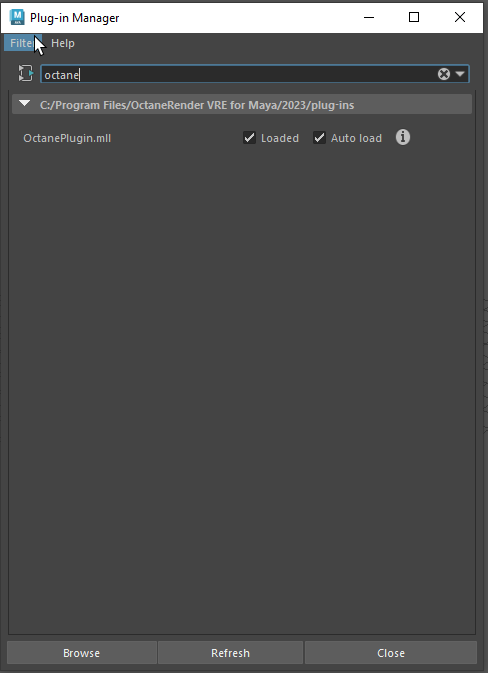
Step 6) This will open the Plugin-in Manager where you can load the plugin and/or check the auto load option. The auto load feature automatically loads the plugin each time you open Maya.
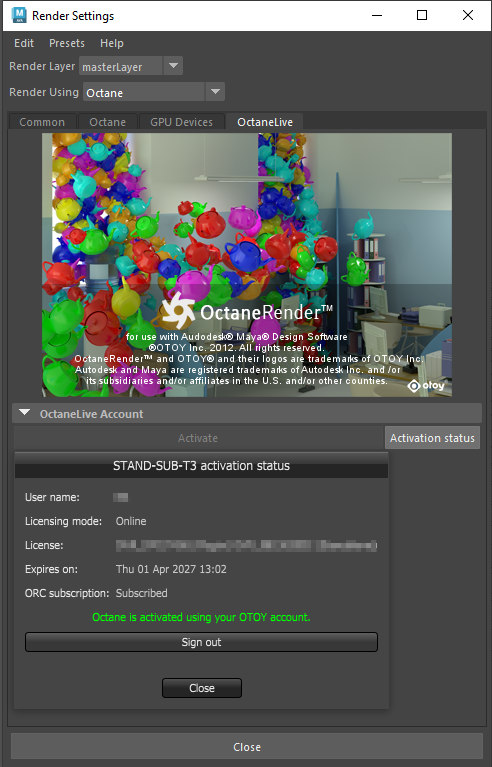
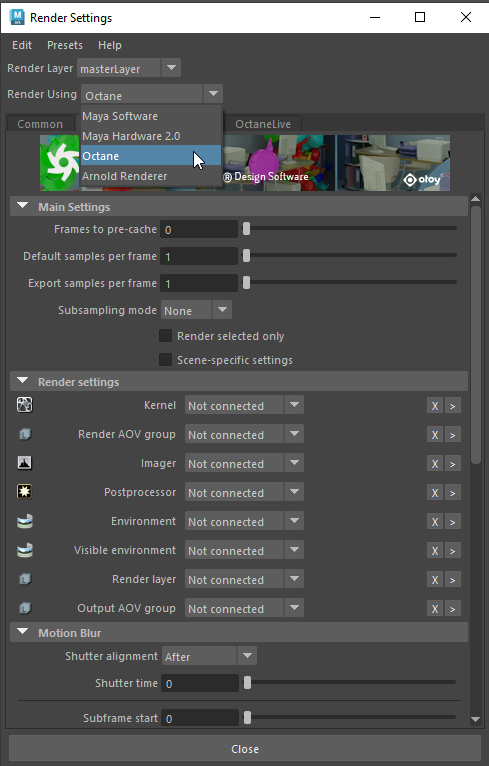
Step 7) Once you have loaded the plugin, select OctaneRender in the window Render Settings. To do this, go back to the Window tab but this time select Rendering Editors -> Render Settings.
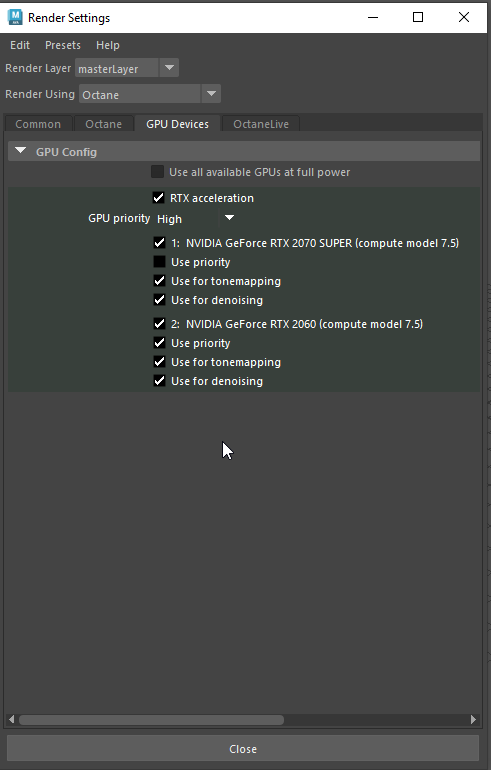
If you have more than one GPU, you may want to select which GPU you will use in your render. For example, you may want one dedicated GPU to your UI, and one GPU for the render. To do this, go to the GPU tab in the Render Settings and specify which GPU you will be using for the render.
Now you should have successfully installed the OctaneRender for Maya plugin!
