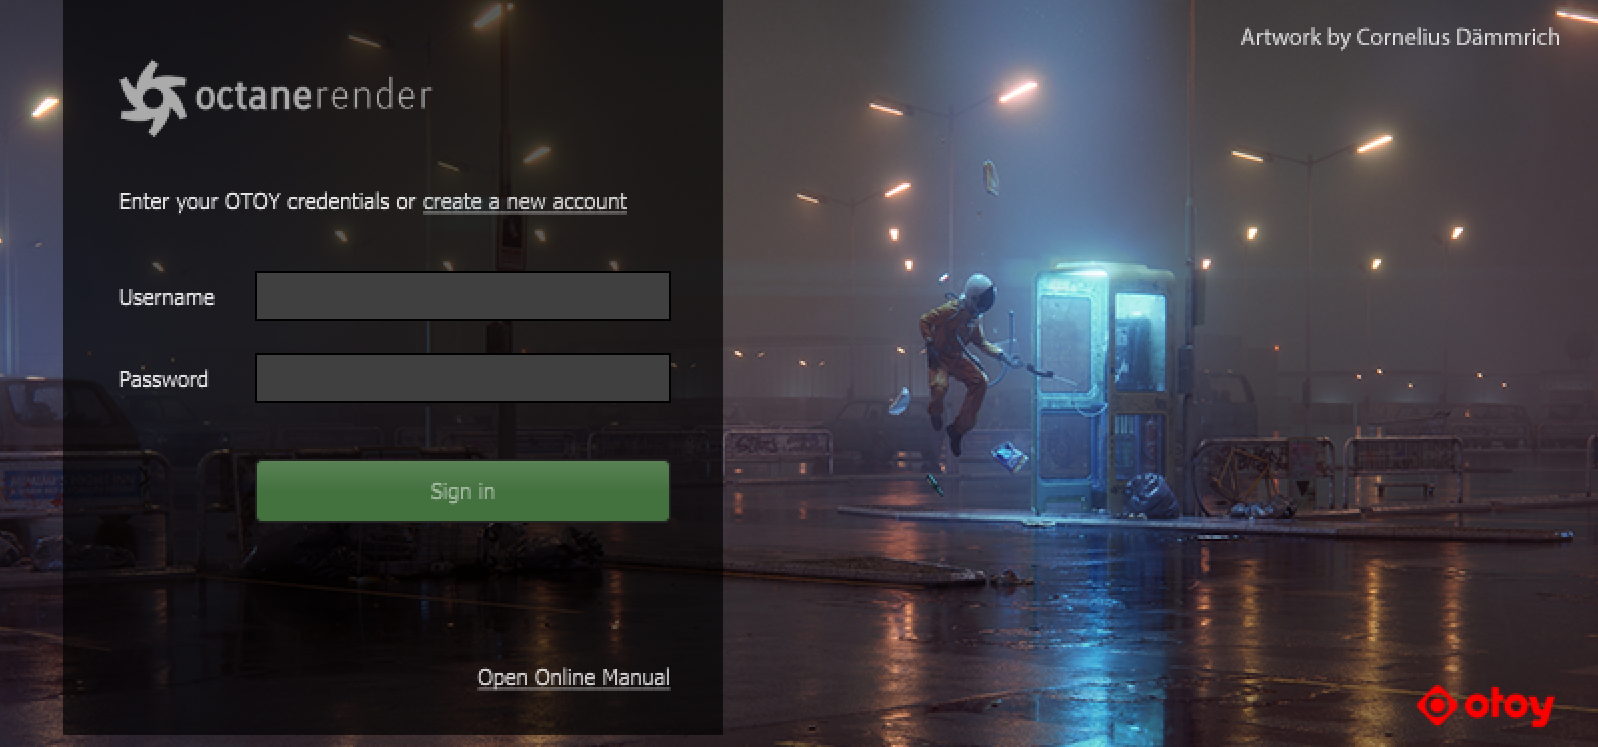
Fig 2.1: OTOY account information. You will likely only see this the first time you activate the OctaneRender for Blender (as your credentials will be retained by the software to make future sign-ins easier). You will also see it again in the event that you change your Username/Password on your Customer Account at any point.

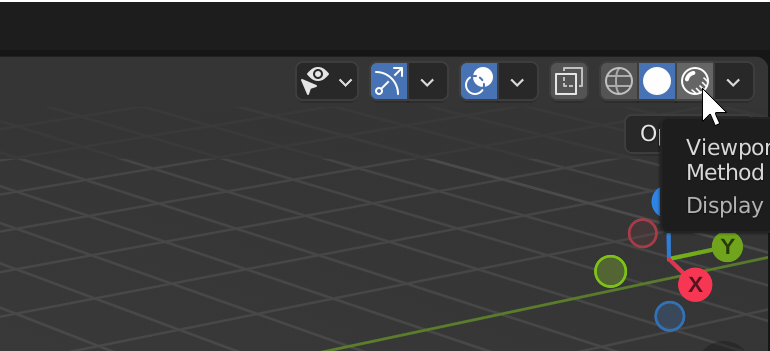
Fig 2.2: Sets the Blender Viewport Shading to "Rendered". You can view Live Render Previews from here. This is the preferred method for previewing your work, before performing a render job (F12 or Ctrl + F12, same as with normal Blender renders)
Blender will prevent you from launching a render job while the viewport shading is set to "Rendered", as you should only be using Octane for previewing or Rendering (not both at the same time).

Fig 2.3: Kernel Type.
- Path-Tracing: Provides photo-realistic renders. This kernel is also performance-intensive - not recommended for Render Previewing due to the demand on your hardware, but you will almost definitely be switching to this for your final renders.
- Direct Lighting: The fastest Kernel for rendering, albeit at the cost of true photorealism. Ideal for live previewing your work from the Blender Viewport, or for producing fast test renders. You will typically switch to Path-Tracing for your final renders. It is worth noting that some scenes may have issues that may not be apparent when using Direct Lighting (but will show up in the more precise output of your Path-Traced renders). Most of the time, however, Direct Lighting will be a reliable preview of your final work.
- PMC: This is the most physically accurate of all the Kernel types. PMC is also the most performance intensive. Generally, Path-Tracing will be sufficient for your Final Renders - the improvement in visual fidelity, from using PMC, will often not be worth the increased render times and resource overheads. You will want to use PMC primarily for scenes with particularly complex setups. Interior scenes with complex lighting, is one example of when PMC would be more suitable than Path-Tracing.
- Info Channel: This allows you to render out individual passes. Good for compositing workflows and useful for diagnosing/troubleshooting rendering issues.

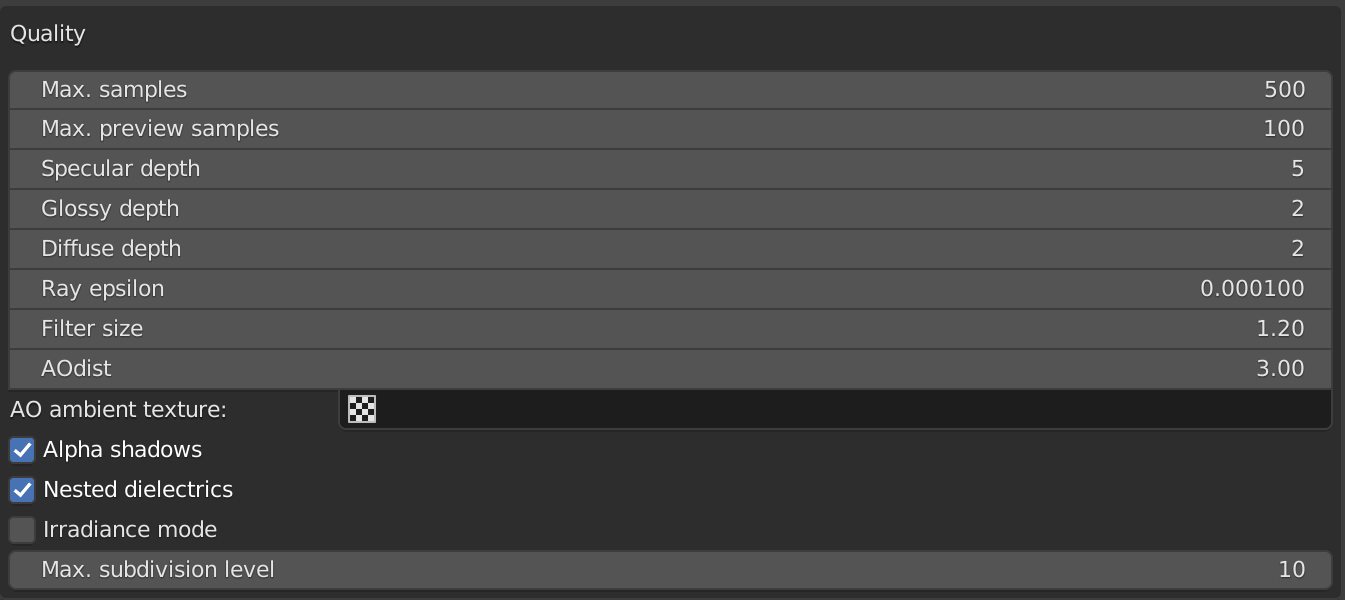
Fig 2.4: Quality Settings for your Render Jobs. The Samples properties are the most crucial. Your renders will process one sample at a time until completion, and the higher the Sample count the better the final output. Render times per sample will vary. Due to time and hardware demands, it is best to choose a sensible number of samples. It would usually only be with Path Tracing or PMC Kernels, that especially high numbers would be worth using. If your Sample count has you rendering past the point of meaningful visual improvement, you may be overextending your render times for diminishing benefit.
In the above image, you can set a Sample Count for the Live Blender Viewport rendering, and a separate value for the Final Render. It is best to keep the Max. Preview Samples to a low number. Max. Samples can be set to whatever is best for the final render job.

Fig 2.5: The Device Preferences tab shows all of your available local GPUs. You can select/deselect specific GPUs for your render here.

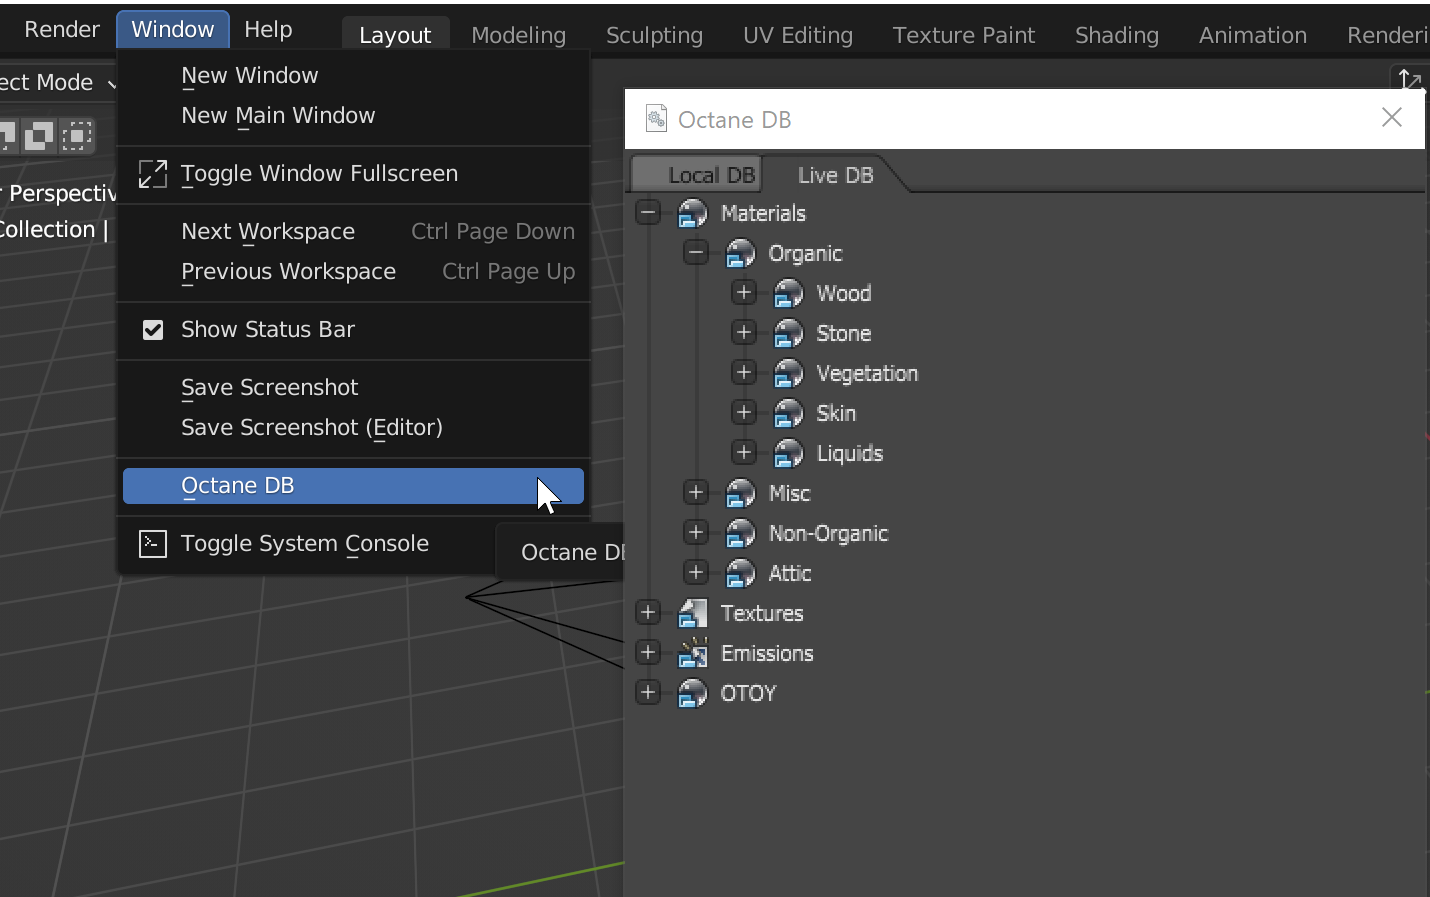
Fig 2.6: Opens the LiveDB. This is an online resource for Materials that can be downloaded directly into your project. Simply create a new material (or select an existing material) on your geometry, and select a Material for download. The selected LiveDB material will replace the selected material.
Additional Online Resources